This post is a small tutorial on how to add Google maps v2 to your Android application. The v2 of the framework is a huge improvement over v1 since it was lacking all kinds of important features like gesture recognision, adding markers was realy annoying with ItemizedOverlay, …
So here are the steps needed to add Google Maps v2 to your application.
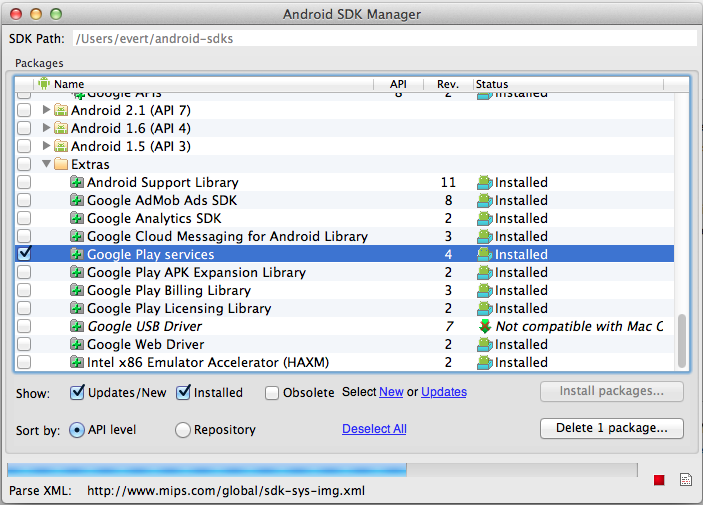
The first thing you need is an Android project, you can use an existing or create a new one. Once you’ve got the project you should download Google Play Services if you haven’t got them installed.
You can download via the Android SDK Manager (in Eclipse) wich is located at: Window => Android SDK Manager, “Google Play services” is located under extras.
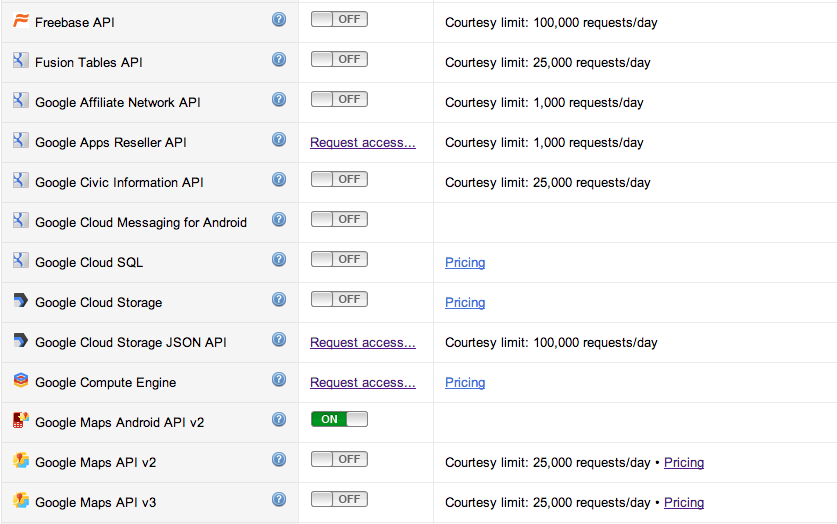
While downloading you can generate the API key, go to the API console and create a new project. You’ll be redirected to a page with a bunch of switches, search for Google Maps Android API v2 and turn it on.
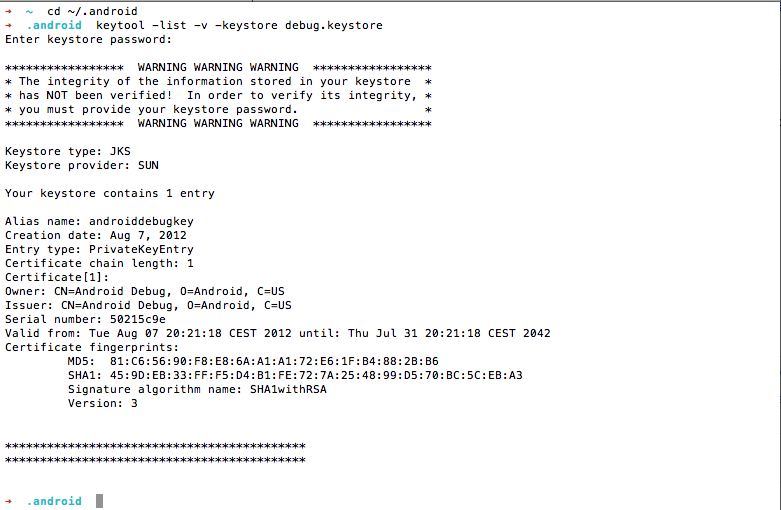
Once that is done you should open your terminal and get a SHA1 fingerprint of your debug key, so open a terminal window and enter
cd ~/.android
then
keytool -list -v -keystore debug.keystore
and copy the value after SHA1: value to be copied.
After that you should go to API Access and click on “Create new Android key…”, paste the value and add your package name (separated by a semicolon). Like this: 45:B5:E4:6F:36:AD:0A:98:94:B4:02:66:2B:12:17:F2:56:26:A0:E0;com.example

Now you should be seeing the Android key under API access.

Head back to Eclipse
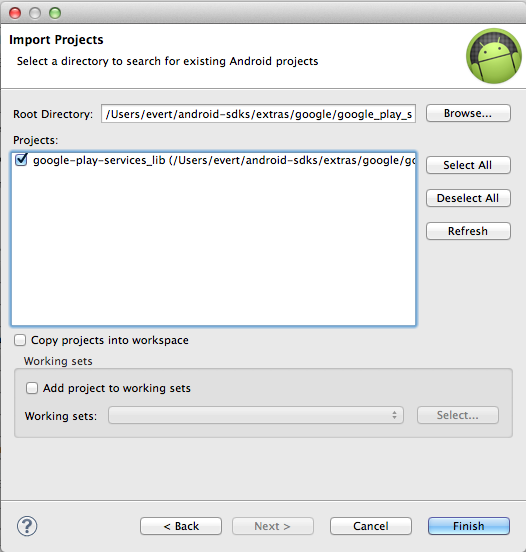
Add the Google Play services project to the eclipse workspace: File => Import => Android => Existing Android Code Into Workspace, and select the folder <android-sdk-folder>/extras/google/google_play_services/ (where <android-sdk-folder> is your Android SDK location).
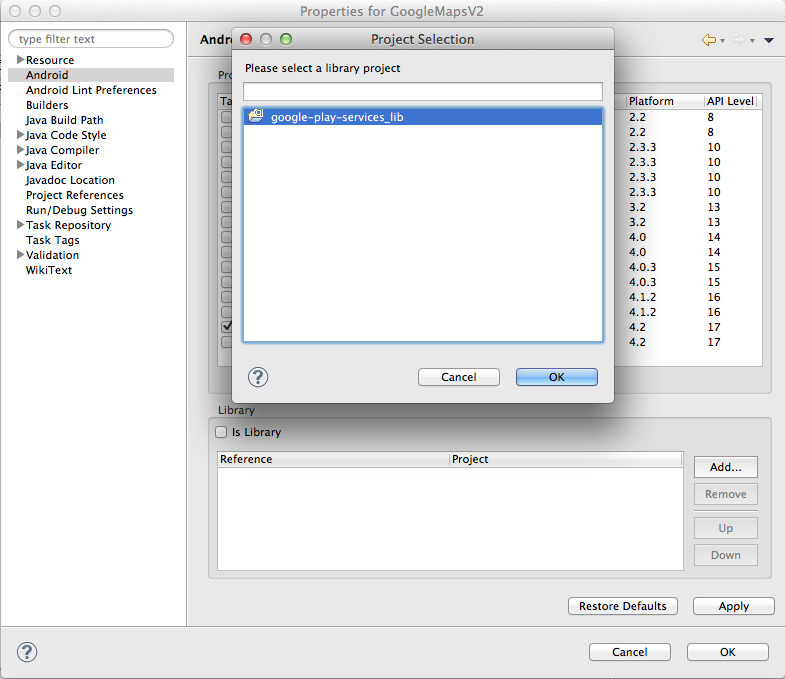
After that right click the project where you want to add the map and select Properties => Android => Add and select the google-play-services_lib project.
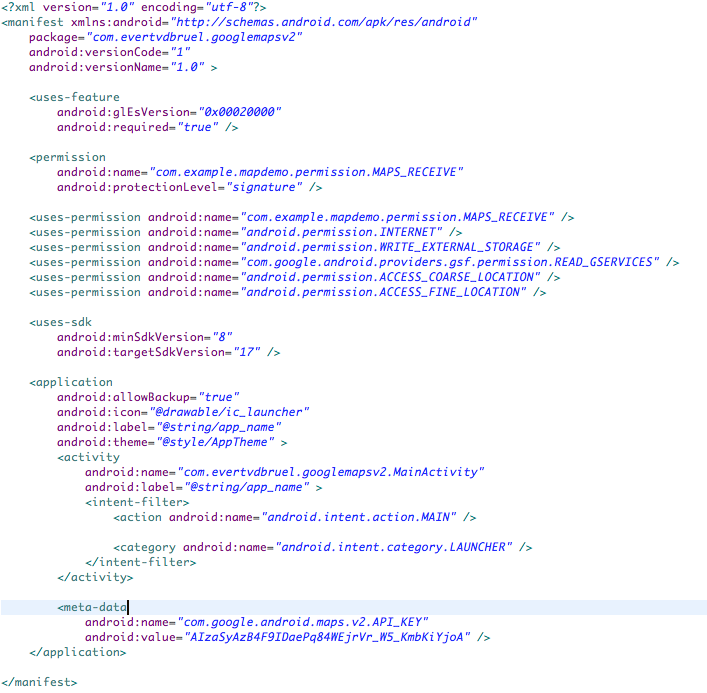
Open the AndroidManifest.xml in the xml view(select AndroidManifest.xml at the bottom of eclipse) and add the following lines under the root manifest tag:
1 2 3 4 5 6 7 8 9 10 11 12 13 14 | |
Include the following in the application tag and replace your_api_key with the API key value from the Google API console
1 2 3 | |
Your manifest file should look like this
After that open activity_main.xml(or an other activity layout file you want to use) and replace the content of the file with
1 2 3 4 5 6 | |
Once this step is completed you should be able to launch the application on your device(maps do not work on emulators) and see a working map.
The source of this project is available on github.
Feel free to ask questions in the comment section.